Pizza Pot Pies Recipe
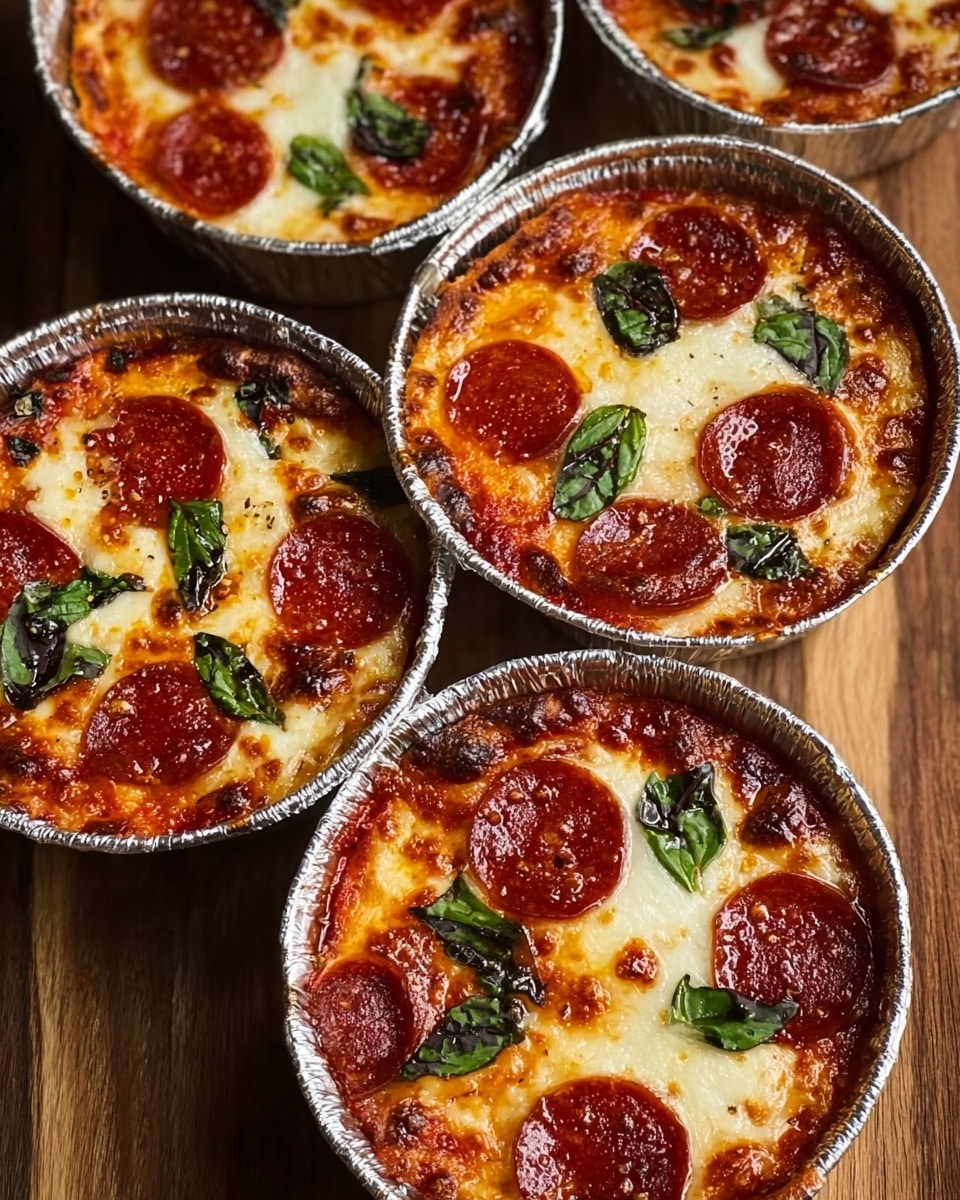
If you’ve ever dreamed of combining the best parts of pizza and pot pies, I’ve got just the thing for you: my Pizza Pot Pies Recipe. These individual mini pot pies burst with all the classic pizza flavors wrapped up in a flaky crust, making them a fun, comforting meal for any occasion. Whether you’re feeding a hungry crowd or indulging in a cozy night in, these little pies hit the spot every single time.
What I really love about this Pizza Pot Pies Recipe is how versatile and approachable it is — you don’t need to be a pro baker to nail it. Plus, the filling stays perfectly saucy without getting soggy, thanks to the magic of baking that golden dough just right. Trust me, once you make these, they’ll become your new go-to weeknight hit or party snack!
Ingredients You’ll Need
Each ingredient in this Pizza Pot Pies Recipe plays a role to balance richness and flavor while keeping prep simple. I recommend grabbing good-quality pizza dough and fresh toppings for the best results. Here’s what you’ll want to pick up from the store or grab from your fridge.
- Refrigerated pizza dough: Using pre-made dough is a total time saver; just bring it to room temp before rolling out.
- Marinara or pizza sauce: Pick your favorite brand or make a quick batch yourself for extra flavor.
- Shredded mozzarella cheese: Freshly shredded mozzarella melts best and avoids a rubbery texture.
- Pepperoni slices: Classic topping, but feel free to swap with sausage, mushrooms, or veggies you love.
- Grated Parmesan cheese: Adds a lovely sharpness that cuts through the richness.
- Dried oregano & basil: These herbs bring an authentic Italian flair to every bite.
- Garlic powder: Use sparingly to give just a hint of warmth without overpowering.
- Red pepper flakes (optional): A pinch gives a nice kick if you like a subtle spicy edge.
- Olive oil: Just for brushing the tops, helps create that perfect golden crust.
Variations
I love tweaking this Pizza Pot Pies Recipe depending on what’s in the kitchen or the mood I’m in. The fun part is making it your own, so feel free to experiment with toppings and dough types to suit your tastes and dietary needs.
- Vegetarian Version: Swap pepperoni for roasted veggies like zucchini or bell peppers; it’s equally delicious and lighter.
- Gluten-Free Dough: I’ve tried gluten-free pizza dough with this recipe and it worked beautifully — just watch bake times as GF dough can brown faster.
- Spicy Twist: Add more red pepper flakes or toss in some sliced jalapeños for a bold flavor punch.
- Cheese Lovers: Mix in provolone or fontina with mozzarella to deepen the cheesy goodness.
How to Make Pizza Pot Pies Recipe
Step 1: Prep Your Dough and Filling
Start by letting your refrigerated pizza dough come to room temperature — this makes it easier to roll out. While that’s resting, mix your marinara sauce with the dried oregano, basil, garlic powder, and red pepper flakes (if using) in a bowl to build a flavorful base. This step really amps up the taste so every bite pops with classic pizza vibes.
Step 2: Roll Out and Shape Your Pot Pie Shells
Once your dough is pliable, roll it out on a floured surface to about 1/4 inch thickness. Using a large round cutter or a bowl about 5-6 inches wide, cut circles to use as your pot pie bases. Press these gently into greased muffin tins to create little bowls. Don’t worry if edges aren’t perfect — that rustic look adds charm!
Step 3: Fill and Top
Ladle a generous spoonful of the seasoned sauce into each dough bowl, then sprinkle with shredded mozzarella, add your pepperoni or chosen toppings, and finish with a pinch of Parmesan. You can layer it for extra cheesiness or keep it simple—both work wonderfully. A light brush of olive oil on exposed dough edges will give you that beautiful golden finish.
Step 4: Bake to Perfection
Bake the pot pies in a preheated oven at 375°F (190°C) for about 20-25 minutes. Keep an eye on them starting at 18 minutes — you want the crust to be golden but not burnt, and the cheese bubbly. It’s tempting to rush this, but patience here rewards you with perfect texture and flavor.
How to Serve Pizza Pot Pies Recipe
Garnishes
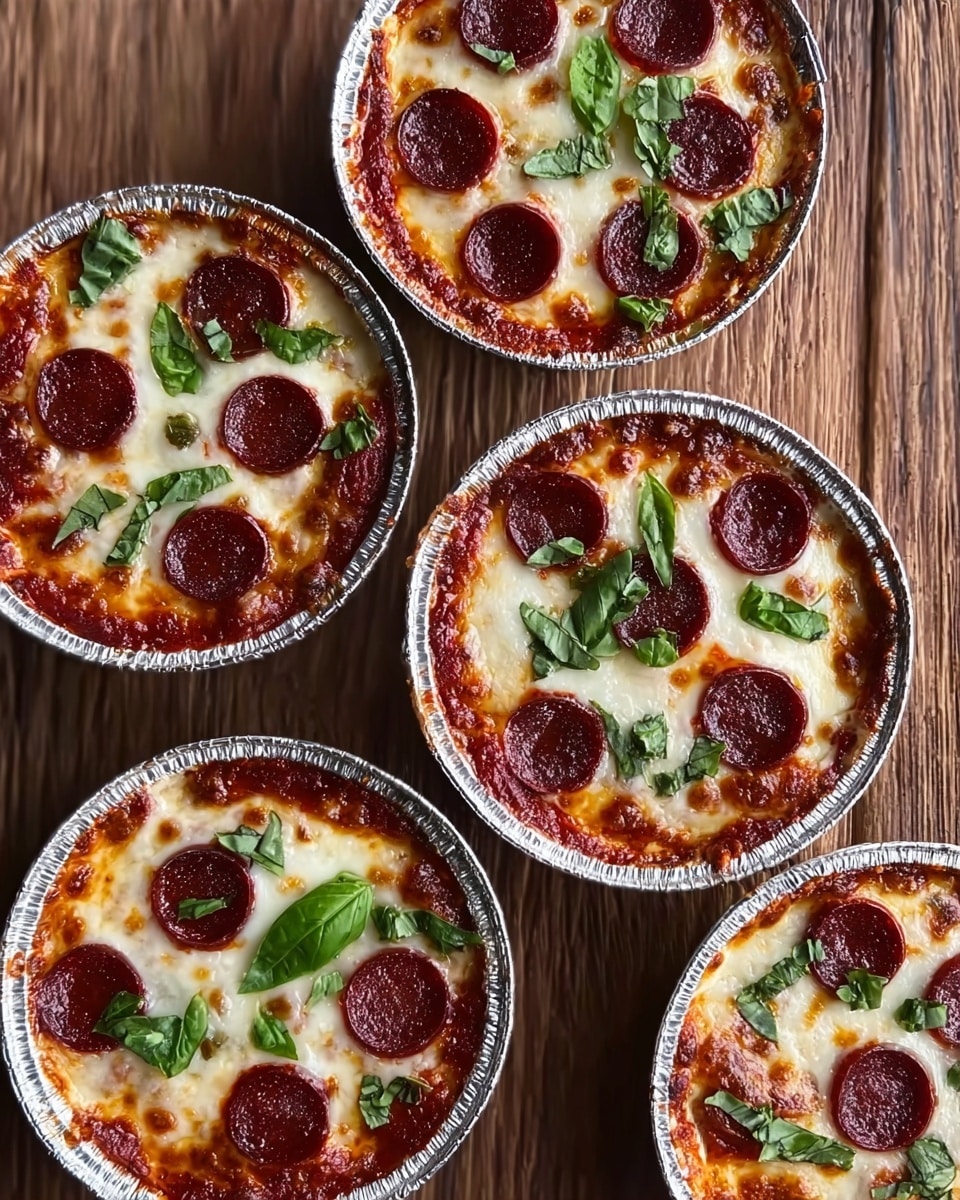
I usually sprinkle a little fresh basil or chopped parsley on top right before serving — it adds a fresh pop of color and flavor that brightens up the whole dish. Sometimes, a drizzle of extra virgin olive oil or a pinch of crushed red pepper flakes is just the finishing touch these pies need.
Side Dishes
These pizza pot pies are hearty on their own, but pairing them with a crisp green salad or roasted garlic broccoli balances the meal beautifully. I also love adding a bowl of simple soup if it’s cooler outside — makes everything feel super cozy.
Creative Ways to Present
For parties, I once served these pot pies nestled on a board with little ramekins of dipping sauces like basil pesto and spicy marinara. It’s a fun, interactive way to enjoy them and impress guests. You can also use colorful paper liners in your muffin tins for a festive look that’s easy cleanup too!
Make Ahead and Storage
Storing Leftovers
I keep any leftover pizza pot pies in an airtight container in the fridge for up to 3 days. Make sure they cool completely before sealing to avoid sogginess. Reheating them gently helps preserve their flaky crust and gooey filling.
Freezing
Freezing these is a great option if you want to prep in advance! I like to freeze them on a baking sheet first until firm, then transfer to a freezer bag. They’ll keep well for up to 2 months. When you want some, just pop them straight into the oven (no thawing needed!) and add a few extra minutes to the bake time.
Reheating
To reheat leftovers, I prefer the oven method over microwaving—it keeps the crust crisp. Preheat your oven to 350°F (175°C) and warm the pot pies on a baking sheet for about 10-12 minutes. They come out tasting nearly as fresh as when first baked!
FAQs
-
Can I use homemade pizza dough for the Pizza Pot Pies Recipe?
Absolutely! Homemade dough works beautifully here and gives you more control over flavor and texture. Just make sure it’s rolled out evenly to avoid overly thick or thin spots that could affect baking time.
-
How do I prevent the crust from getting soggy?
Brushing the dough edges with olive oil before baking creates a barrier that helps keep crust crispy. Also, don’t overload the filling with too much sauce—just enough to be saucy without pooling around the dough.
-
Can I make these vegetarian or vegan?
Yes! For vegetarian, just swap out meats for veggies or plant-based alternatives. For vegan, use vegan dough, dairy-free cheese substitutes, and double-check your sauce ingredients to avoid animal products.
-
What’s the best way to reheat leftover Pizza Pot Pies?
Reheating in the oven at 350°F for 10-12 minutes helps keep the crust flaky and the cheese melty. Avoid microwaving if you want to maintain that crisp texture.
Final Thoughts
This Pizza Pot Pies Recipe really holds a special place in my kitchen because it’s the perfect blend of convenience and classic comfort food. It’s approachable enough for an easy dinner but special enough to make guests smile. I encourage you to give it a try—you might just find your new all-time favorite way to enjoy pizza, especially when you want that personal little pot pie magic.
PrintPizza Pot Pies Recipe

These Pizza Pot Pies are a fun and easy twist on traditional pizza, combining all your favorite toppings inside individual baked dough cups. Perfect for a family dinner or casual get-together, they feature a crispy golden crust filled with rich marinara sauce, melted mozzarella, savory pepperoni, and a blend of Italian herbs, all baked to perfection.
- Prep Time: 15 minutes
- Cook Time: 20 minutes
- Total Time: 35 minutes
- Yield: 6 individual pizza pot pies
- Category: Main Dish
- Method: Baking
- Cuisine: Italian-American
Ingredients
Pizza Dough
- 1 package refrigerated pizza dough (or homemade pizza dough)
Filling
- 1 1/2 cups marinara sauce or pizza sauce
- 1 1/2 cups shredded mozzarella cheese
- 1/2 cup pepperoni slices (or your choice of toppings such as sausage, mushrooms, bell peppers, olives)
- 1/4 cup grated Parmesan cheese
- 1 teaspoon dried oregano
- 1 teaspoon dried basil
- 1/2 teaspoon garlic powder
- 1/4 teaspoon red pepper flakes (optional)
Finishing
- Olive oil for brushing (optional)
Instructions
- Preheat the Oven: Preheat your oven to 375°F (190°C). This will ensure the pot pies bake evenly and the crust becomes golden and crisp.
- Prepare the Dough: Roll out the pizza dough on a lightly floured surface to slightly enlarge it. Then, cut the dough into pieces large enough to line muffin tins or a similar baking vessel for individual pies.
- Assemble the Pies: Lightly grease muffin tins and press dough pieces into each cup, creating a small dough bowl. Add about 2 tablespoons of marinara sauce to each cup, then layer in mozzarella cheese, pepperoni slices, Parmesan cheese, and sprinkle with oregano, basil, garlic powder, and red pepper flakes if using.
- Seal and Finish: Optionally, cover each pie with a small dough circle or a lattice. Brush the tops lightly with olive oil to promote browning and add flavor.
- Bake: Place the muffin tin in the preheated oven and bake for 18-22 minutes, until the dough is cooked through and golden brown, and the cheese is bubbly and melted.
- Cool and Serve: Allow the pizza pot pies to cool in the tin for a few minutes before carefully removing. Serve warm for the best taste and texture.
Notes
- You can customize the filling with your favorite pizza toppings such as sausage, mushrooms, bell peppers, or olives.
- If you prefer a crispier crust, bake a few minutes longer but watch carefully to avoid burning.
- Brush the tops with olive oil or an egg wash for a shiny, golden finish.
- These pot pies reheat well in a toaster oven or conventional oven to retain crust texture.