Halloween Dirt Cups Recipe
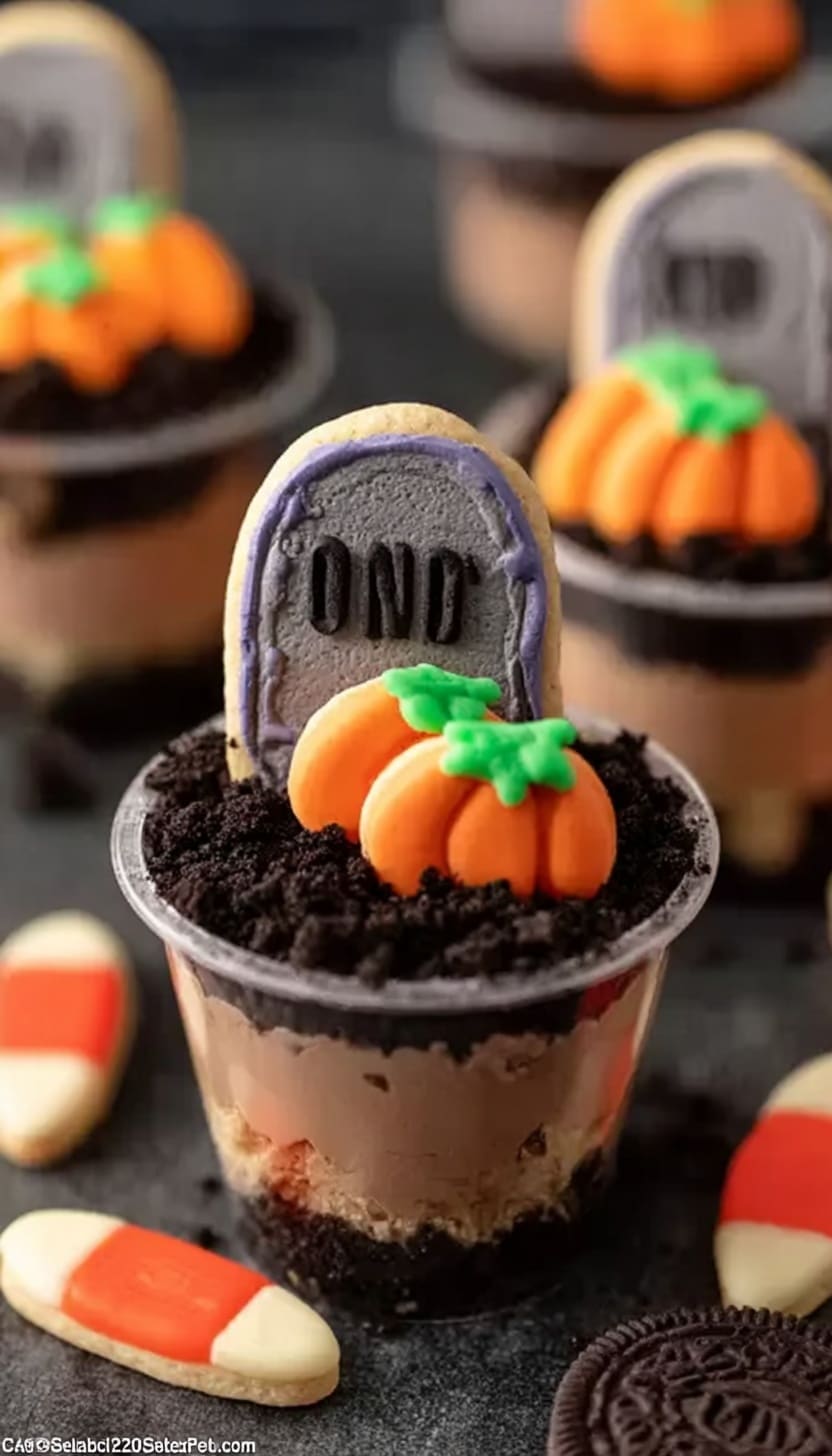
If you’re looking for a fun, spooky dessert that’s as delicious as it is festive, this Halloween Dirt Cups Recipe is exactly what you need. It’s one of those treats that really steals the show at Halloween parties or when you want to surprise your kids with a creepy-cool snack. The layers of creamy chocolate pudding, crushed Oreo “dirt,” and gummy worms just scream fall fun, and honestly, it’s so easy to make that you can whip it up last minute without stress.
What I really love about this Halloween Dirt Cups Recipe is how it manages to be both playful and indulgent. It’s not just about the looks—those crunchy Oreo crumbs paired with smooth pudding and fluffy Cool Whip create a dream texture combo. Plus, decorating with gummy worms and candy pumpkins makes it a hands-on experience your little ghouls and goblins will adore. You really can’t go wrong with this one for any Halloween festivities or just a fun treat at home.
Ingredients You’ll Need
All the ingredients for this Halloween Dirt Cups Recipe work together to build that signature “dirt cup” texture and flavor. When you shop, grab the freshest pudding mix and a good stash of Oreos — the crunch is key here!
- Oreo Cookies: These are the base “dirt” layer after you crush them up—make sure to get the classic kind for best flavor and texture.
- Cool Whip: Adds the creamy, fluffy top layer that balances the chocolatey pudding perfectly.
- Instant Chocolate Pudding Mix: Quick and easy to prepare, it gives you that rich chocolate filling without fuss.
- Milk: Needed to make the pudding mix come to life—whole milk gives the creamiest results.
- Milano Cookies: These are a fun, fancy addition for texture and a little buttery sweetness—they also look great when crumbled on top.
- Gummy Worms and Candy Pumpkins (optional): Perfect for that spooky vibe and fun edible decoration.
- Wilton Black Writing Icing: Ideal for adding creepy messages or drawing creepy little faces on your cups.
Variations
I love how customizable this Halloween Dirt Cups Recipe is. Over time, I’ve found it’s a great canvas for adding personal twists depending on your mood or what you have at hand. Don’t hesitate to make it your own—you’ll enjoy it even more!
- Variation: I sometimes swap out the Oreo cookies for gluten-free chocolate sandwich cookies, and honestly, no one misses the gluten at all.
- Variation: You can use homemade chocolate pudding instead of instant mix if you’re feeling fancy—it takes a bit longer but tastes amazing.
- Variation: For an adult twist, adding a tiny bit of espresso powder to the pudding mix makes the chocolate flavor pop.
- Variation: Switching up gummy worms with gummy spiders or candy eyeballs adds an extra eerie factor kids find hilarious.
How to Make Halloween Dirt Cups Recipe
Step 1: Crush those Oreos
Start by crushing your Oreo cookies into fine crumbs. I usually put them in a zip-top bag and bash them with a rolling pin. If you want a finer texture, you can pulse them in a food processor. The key is to make sure some chunks remain for a nice “dirt” feel but nothing too chunky that it’ll be hard to spoon through.
Step 2: Whip up the pudding
Prepare your instant chocolate pudding using the milk, as per the box instructions. It usually takes just a couple of minutes to thicken. I like to use cold milk and chill the pudding beforehand so it sets perfectly in the cups without melting the Cool Whip later on.
Step 3: Layer it up
Grab your serving cups and start layering: first, sprinkle a layer of crushed Oreos, then add a generous spoonful of pudding, followed by a layer of Cool Whip. Repeat the layers until the cup is full, finishing with a crushed Oreo or Milano cookie topping for extra crunch.
Step 4: Add the spooky fun
Place gummy worms wiggle into the top layers or tuck candy pumpkins right on the surface for that Halloween effect. If you want, use the Wilton black icing to write little spooky messages or creepy faces on the cup sides for an extra festive touch.
How to Serve Halloween Dirt Cups Recipe
Garnishes
I always add gummy worms because they’re classic and so fun for kids to “dig” out of the dirt. Sometimes I throw in a few candy pumpkins for color contrast—it makes the whole dessert look more festive. Crushed Milano cookies on top add a nice buttery crunch that balances out the Oreo crumbs.
Side Dishes
This dessert pairs perfectly with simple, light finger foods like apple slices or caramel popcorn. It balances out nicely with something fresh on the side, especially when serving at a Halloween party with lots of rich eats.
Creative Ways to Present
I’ve had fun using mini terracotta pots lined with plastic wrap for serving, turning this into a real creepy garden look. Another time, I layered in tall clear glasses and piped the Cool Whip with a star tip for a more elegant vibe. Kids love when the cups come with miniature shovels or plastic spoons shaped like bones – it amps up the spooky presentation.
Make Ahead and Storage
Storing Leftovers
I store leftover Halloween Dirt Cups tightly covered in the fridge. They keep well for 2-3 days, though I find they’re best eaten within 24 hours because the Oreo crumbs can get a bit soggy over time.
Freezing
Freezing isn’t my go-to for this recipe since Cool Whip and pudding change texture after thawing. But if you need to freeze, I suggest skipping the topping and decorating after thawing to keep things looking fresh.
Reheating
This dessert is best served chilled, so reheating isn’t really needed. If you pull it too cold, let it sit a few minutes at room temp—it softens up beautifully without losing that creamy texture.
FAQs
-
Can I make Halloween Dirt Cups Recipe ahead of time?
Absolutely! You can prepare the pudding and crush the cookies ahead of time. Just assemble the cups a few hours before serving to keep the Oreo crumbs crunchy. If making a day early, store assembled cups in the fridge covered tightly.
-
What can I use instead of Cool Whip?
If you prefer homemade topping, whipped cream works wonderfully as a substitute for Cool Whip. Just make sure to whip it to stiff peaks and chill before layering.
-
Can I use regular cookies instead of Oreos?
Definitely! Any chocolate sandwich cookie works well for the “dirt” effect. Just crush them finely. Some people use chocolate graham crackers or even chocolate chip cookies for a different flavor twist.
-
How do I keep the gummy worms from melting or getting sticky?
Place gummy worms on the very top layer just before serving to keep them fresh and prevent melting. Storing the cups chilled also helps them maintain their shape and texture.
Final Thoughts
This Halloween Dirt Cups Recipe is one of my favorite festive treats because it delivers on taste, texture, and fun presentation all at once. Whenever I make it, it brings out the kid in everyone—whether it’s the colorful gummy worms or just the chocolate pudding and Oreo combo that makes this dessert feel like a party in a cup. I can’t recommend it enough if you want to create a spooky yet effortless dessert that’s bound to be a hit. Give it a try, and I promise you’ll be hooked too!
PrintHalloween Dirt Cups Recipe

Halloween Dirt Cups are a fun and spooky dessert perfect for Halloween parties. This no-bake recipe combines creamy chocolate pudding with crushed Oreo cookies to create a dirt-like base, topped with gummy worms and candy pumpkins for a creepy-crawly effect. It’s easy to assemble and sure to delight kids and adults alike.
- Prep Time: 15 minutes
- Cook Time: 0 minutes
- Total Time: 45 minutes
- Yield: 8 servings
- Category: Dessert
- Method: No-Cook
- Cuisine: American
- Diet: Vegetarian
Ingredients
Main Ingredients
- 12 Oreo Cookies
- 16 oz Cool Whip
- 1 box Instant Chocolate Pudding Mix (3.3 oz)
- 2 cups Milk
Decorations
- 8 Milano Cookies
- Gummy Worms (optional)
- Candy Pumpkins (optional)
- Wilton Black Writing Icing
Instructions
- Prepare Pudding: In a mixing bowl, whisk together the instant chocolate pudding mix and 2 cups of milk until the mixture thickens, about 2 minutes. Refrigerate for at least 5 minutes to set.
- Crush Oreos: Place the 12 Oreo cookies into a plastic bag and crush them into small crumbs using a rolling pin or your hands to create the ‘dirt’ texture.
- Combine with Cool Whip: Gently fold the 16 oz of Cool Whip into the set pudding mixture until well combined and smooth.
- Layer Cups: In individual serving cups, start by adding a layer of Oreo crumbs at the bottom, then add a layer of the pudding-Cool Whip mixture, and repeat, finishing with a layer of Oreo crumbs on top to resemble dirt.
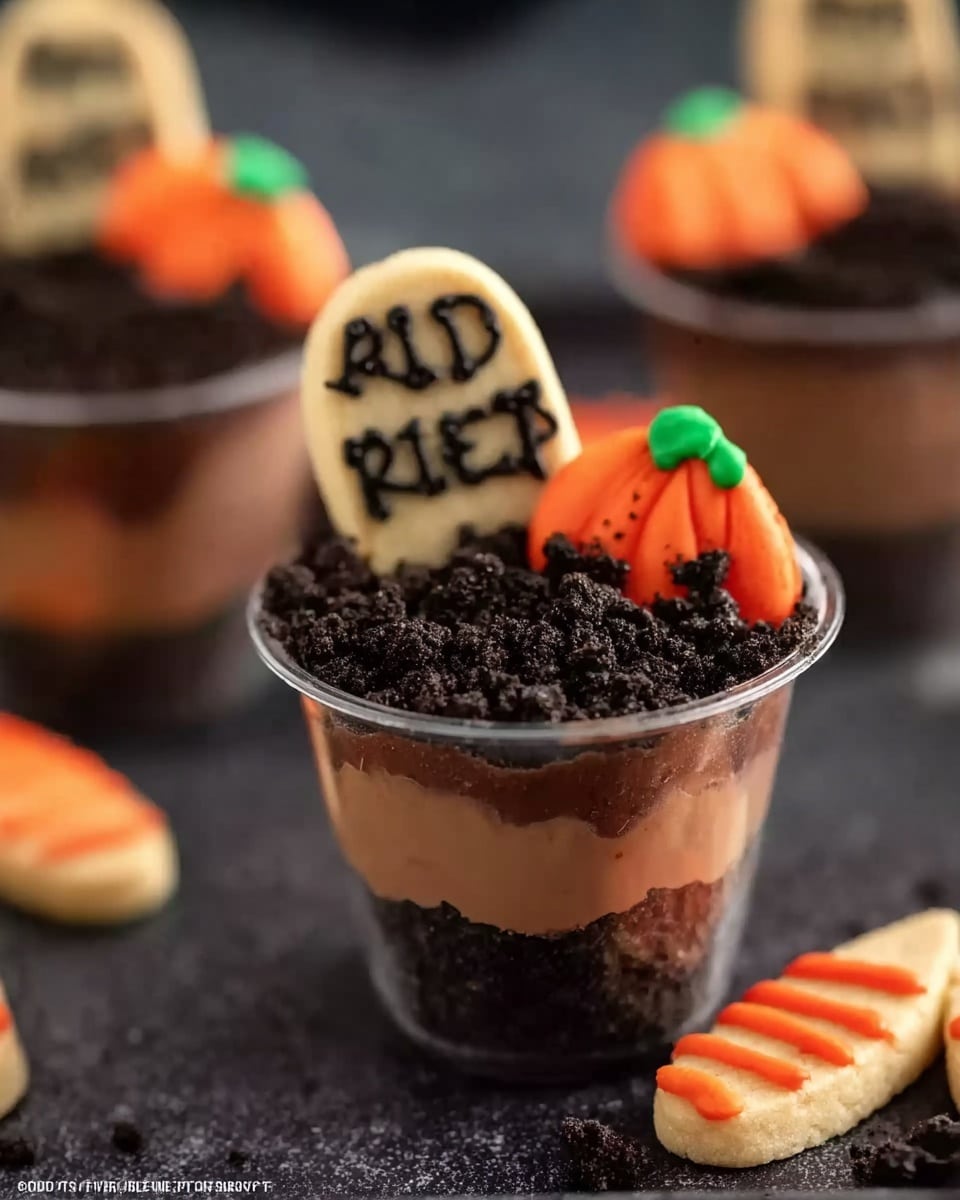
- Add Decorations: Garnish the top of each cup with 8 Milano cookie halves placed vertically to look like gravestones. Use Wilton Black Writing Icing to write spooky messages or RIP on them. Add gummy worms and candy pumpkins on top for a fun Halloween effect.
- Chill and Serve: Refrigerate the dirt cups for at least 30 minutes before serving to allow layers to set and flavors to meld. Serve chilled.
Notes
- Use well-chilled milk for pudding preparation to help it set better.
- For a dairy-free option, substitute Cool Whip with a suitable non-dairy whipped topping.
- Be gentle when folding to keep the mixture light and fluffy.
- Customize the decoration with other Halloween candy for variety.
- These cups can be assembled a few hours ahead and kept refrigerated.